Keeping your car battery in good shape is important for a smooth and safe drive. If your Honda is struggling to start or the lights are dim, it may be time to replace the battery. Changing it is easier than you might think. All you need are the right tools and a few simple steps. First, park your car safely and turn off the engine. Then, remove the old battery cables, take out the battery, clean the terminals, and install the new one carefully. By following these steps, you can easily change a Honda battery without stress.
Tools You Need Before You Start
Before you begin, make sure you have everything ready. The right tools make the process quicker and safer.
Here’s what you’ll need:
- A new car battery suitable for your Honda model
- Wrench or socket set
- Gloves and safety glasses
- Battery cleaning brush or cloth
- Baking soda and water (for cleaning corrosion)
Having all these tools ready before you start will make the battery change easier and prevent mistakes. Also, a mechanic can help you with electrical problems like battery replacement.
Steps To Change the Honda Battery
Here are the expert tips:
Step 1: Park Safely and Turn Off the Engine
Safety is always the first step. Park your car on a flat surface and make sure it’s in “Park” or in gear if it’s manual. Turn off the engine and remove the keys from the ignition. It’s best to let the car cool for a few minutes before touching the battery. Open the hood and use the support rod to keep it secure. You’ll find the battery inside the engine bay, usually near the front or side.
Step 2: Disconnect the Battery Cables
Always remove the negative cable first. This prevents short circuits or electric shocks. Here’s how to do it safely:
- Find the negative terminal (it usually has a minus “–” sign).
- Use a wrench to loosen the bolt and remove the cable.
- Next, remove the positive cable (marked with a plus “+” sign).
Keep both cables away from the battery to avoid contact with the terminals. This step ensures your safety while you continue working.
Step 3: Remove the Old Battery
Once the cables are disconnected, check for any brackets or clamps holding the battery in place. Use your wrench to loosen them. Carefully lift the old battery out of the tray. Remember, car batteries can be heavy, so handle them gently. Avoid tilting or shaking the battery to prevent acid spills. Place it on the ground or in a box away from children or pets. You can recycle the old battery at a nearby auto shop or service center.
Step 4: Clean the Battery Terminals
Before installing the new battery, clean the terminals and tray area. Dirt or corrosion can affect how well the new battery works. Mix a small amount of baking soda with water and dip a brush into it. Gently scrub the terminals and tray to remove rust or buildup. Wipe the area with a dry cloth until clean. This simple cleaning step improves connection and battery life.
Step 5: Install the New Battery
Now it’s time to place the new battery in the tray. Make sure it faces the same direction as the old one. Secure it with the clamp or bracket to prevent movement. Connect the positive cable first (marked “+”), and then attach the negative cable (marked “–”). Tighten both connections with your wrench, but don’t over-tighten them. Once done, check that the battery doesn’t move or wiggle.
Step 6: Test the New Battery
After everything is connected, close the hood and start your car. If the engine starts smoothly, you’ve done the job correctly. Check the headlights and dashboard lights to make sure the battery is providing proper power. If you notice any warning lights or the car struggles to start, double-check your cable connections. Proper installation ensures your new battery performs well and lasts longer.
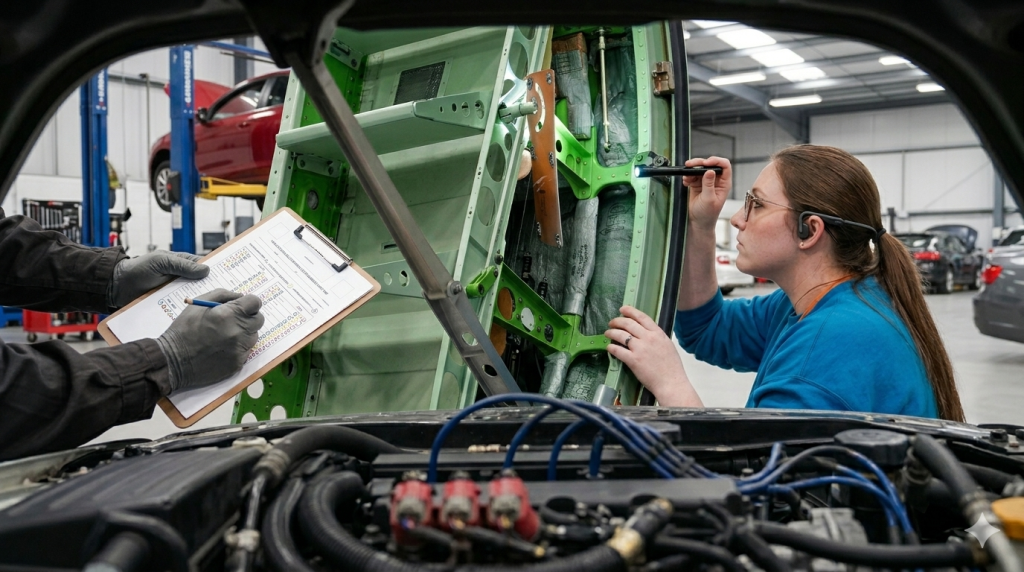
When to Get Professional Help?
Car battery replacement is simple; some signs may require expert help. If your car’s electrical systems act strangely after installation or you see corrosion that keeps coming back, visit a trusted service center. Professionals can check the alternator, battery cables, and charging system to make sure everything is fine. It’s always safer to get help when you’re unsure.
Tips to Extend Battery Life
Here are a few simple habits that can make your battery last longer:
- Turn off the lights and the radio when the engine is off.
- Drive your car regularly to keep the battery charged.
- Keep terminals clean and corrosion-free.
- Test your battery every six months at a service center.
Following these easy steps will help you avoid frequent replacements and keep your Honda running smoothly.
Conclusion
Replacing your car battery is one of the simplest maintenance tasks you can do on your own. With the right tools and steps, you can safely remove the old battery, clean the terminals, and install a new one in no time. Always remember to handle the battery carefully and double-check connections before starting your car. By following this easy guide, you’ll know exactly how to change a Honda battery and keep your vehicle running at its best.
If you want expert help or quick battery replacement, visit Al Zaabi Auto Care for professional and reliable car battery services today!